Latest Updates
Showing posts with label Saloon. Show all posts

A Calamity Prototype - The Midnight Star

While waiting for parts for Calamity's Railroad station I started laying out the plans for Calamity's Hotel and Saloon; The Midnight Star. Stolen right out of the movie Silverado. Right now I'm just trying to get a handle on the compromise between the size I want and what will really fit.

Again pictures tell a better tale.


My hand drawn plans

It took to of my sheets of matte board

How many will fit in your standard 10x10 room? Man those bases really take up a lot of space.

Starting to cut away the excess

Playing cowboys here

Cut down

All cut out. The cowboy on the right is standing on what will be the balcony

Battle Flag Saloon - Adding some detail

I did get to spend some time working on the Battle Flag Saloon this week. Nothing groundbreaking by any means but its certainly looking more "finished" than before. I was at Caboose Hobbies here in Denver and picked up some "O" Scale shingles to try on the roof. The first is called Truewood (covers 27 square inches for $9.98) and comes from Builders in Scale. The pack I picked up is rustic oak and they really are made from oak. The other shingles came from Wild West Scale Model Builders (Shake Shingles covers 38 square inches for $10.95). These shingles are a heavy weight paper and have also been laser cut. I ended up using the ridge cap from one of these packs to go along with the Truewood shingles I used. Hopefully I can blend these together during the weathering process. If I can't I think I have enough leftover Truewood shingles to do the cap, and I might do it anyway since the "look" is just not growing on me.

After shingling the roof I grabbed some stripwood and added some trim to the Saloon. This covered up the joint where the walls come together. I also added some trim to the roof on the back side. All of this wood was scored with my razor saw first to create a deep grain pattern. Its hard to see now but will be much more visible after the building is painted and weathered. I have tried to distress the boards on the building itself with my razor saw which mostly just leaves fuzz behind and seems to want to remove a layer from the building rather than make the deeper grain pattern that I was hoping for. My order from Micro Mart that arrived yesterday has a tool in it that I hope will let me get that distressed look that I want. Hopefully I'll get to try it tonight.

Next steps are to go through this same process on the General Store and the Photographer's studio. I won't put the shingles on the roof of the General Store though. Battle Flag said that they could get me a new roof which means I won't have to mess around with the extra work to make it look right. Great guys at Battle Flag! Of course there are pictures to show the progress so far. If you were really sharp eyed you would have picked up on the changes to the Saloon in the pictures that were in the Aetherworks review yesterday.

First up the products I used

Shingles applied to the roof


Adding some trim to the building to cover the joints. Obviously not as thick as the MDF, but I don't think you will notice after painting and weathering.


Review - Aetherworks - 28mm Western Buildings - Brick Building

I purchased a building from Aetherworks out of Australia and it managed to beat my order from Sarrisa-Precision that is coming from the UK. To be fair I'm pretty sure my order from Sarrisa (and Foundry for that matter) are probably stuck in NY. New York is having a tough time first the Hurricane Sandy and now they are getting pummeled by Athena. Who knows when anything from the UK is going to get through that mess. Still I was very happy to receive the kit from Aetherworks and add another building to the Wild West collection.

It was pretty well packaged and it took me a minute or so to actually get to the contents.  I also ordered the extra detail kit that includes door and window frames (these come as part of the stock kit with Battle Flag) for the building. They also sent me 3 complimentary signs! Very nice, they sent the Bank, Sheriff and Marshal signs. One of those will end up the front, but not until after it has been painted. Since I'm a firm believer in pictures, here is what you get:


Construction is really straight forward. I took a lot of pictures of the process, and yes there are lots of clamps in the pictures and you can take a look at those below. Overall, this kit really went together well. The MDF is slightly different than what I was used to working with from Battle Flag and 4Ground. It is much thicker, I'm guessing 5mm, and seems to be a little harder. I was able to create distressed boards with my razor saw that can be seen, they didn't just create fuzz. Like any laser cut kit there is a front and a back to all the pieces. Double check and make sure you have the side with the detail glued down with the detail visible! I didn't have any assembly miscues with this kit. Part of that is that it is simpler kit than the ones from Battle Flag. Aetherworks are scaled a bit differently from Battle Flag as well. The Aetherworks building looks like it is scaled specifically for the Black Scorpion miniatures. In the long run I don't think you are really going to see the difference during a game or even with just a casual look.

The instructions were really good. They were specific to the building I purchased (that's always big for me) and each step had pictures. The only problem I had is that there is a lot of white space and some of the pictures would have been much more useful if they had been larger so I could see how some of the small parts should fit. In particular there is no clear picture of the supports for the top of the false front. I had to fiddle with them for a minute to make sure I had them in facing correctly. So instructions get a nice solid 4 out of 5.

Components are really nice. Again Aetherworks uses a thicker and seemingly harder MDF which allowed me to create distressed boards with my razor saw. Almost all the parts practically fell out of the frame. Smaller parts stayed in the frame and were easy to remove. The engraving was sharp and looked good. If anything the bricks were to sharp looking, some distressed brick would have been nice (and yes it can be done with a laser, check out my post on Monster's brick freight house, HO scale and featuring distressed or worn brick). Still that's a pretty minor point and most gamers are not going to notice. 5 out of 5 on the components.

What disappoints me a bit is that they don't go farther and include some instructions on painting and weathering the buildings. Especially the roofs. Aetherworks doesn't even mention the roofs after you have assembled them. Battle Flag does provide some extra strips of MDF to at least create the appearance of a tar roof and you can buy shingles from them if you want.

Small gripes really. This is a quality kit, it looks good when mixed in with the kits from Battlefront and Calamity gains its first brick building! On the the assembly pics!


So here is the basic building with the assembly finished


If you purchased the additional door and window frames then you get to keep going!


And now the finished product with the extra frames but still minus the sign (that will get mounted after painting)


And now with some Black Scorpion Miniatures for scale


And now against the Saloon from Battle Flag


The streets of Calamity continue to grow


Review - Battle Flag - 28mm Western Buildings - The Saloon

Tonight I took the General Store that I built last night and tried out my razor saw on it. I use the razor saw on plastic and wood pieces to create a deeper grain pattern and to roughen up smooth surfaces. Well it doesn't do much on MDF except create some fuzz. I'm may have the distressing step except that my paint work on this kind of depends on it. I tried just scoring the boards with the x-acto knife and I got more of a pattern but still managed to generate a bunch of fuzz. I'll have to mull over this technique. Without doing something the walls are just so smooth to represent weathered boards. This will probably only bother me.

Tonight I cracked open the Saloon. I picked this one because the assembly was basically the same as the General Store (its uses the same directions) and because I was able to avoid making the same mistakes I made on the General Store. This second building went together much easier, its a simpler design so there is not a lot of fussy around with the detail on the facade. Again an excellent little kit, so my opinion on the Battle Flag line continues to be a very good value for the money and I recommend them if you are building a western town, Still waiting for the Sarissa Precision order to arrive. I ordered a livery stable from them that I'm really looking forward to adding to the town of Calamity.

This building came on the frames, I had already punched some stuff out because I needed the frame to fix a mistake I made on the General store. Like most lasercut kits this stuff practically falls off the frames. There are little arrows etch in the scrap portion of the frame showing you were the attachment points to the frame are. I found that quite useful on the more delicate parts as I know exactly where to apply pressure. Nice feature!
Back to the roof. This time I made sure I had the end caps on the correct ends. The flat no detail piece on the end marked front because that sits behind the false front and the detailed end piece on the back. I was a little less clamp happy this time around.


Well that is until I got to building the front, then the clamps were back in force.
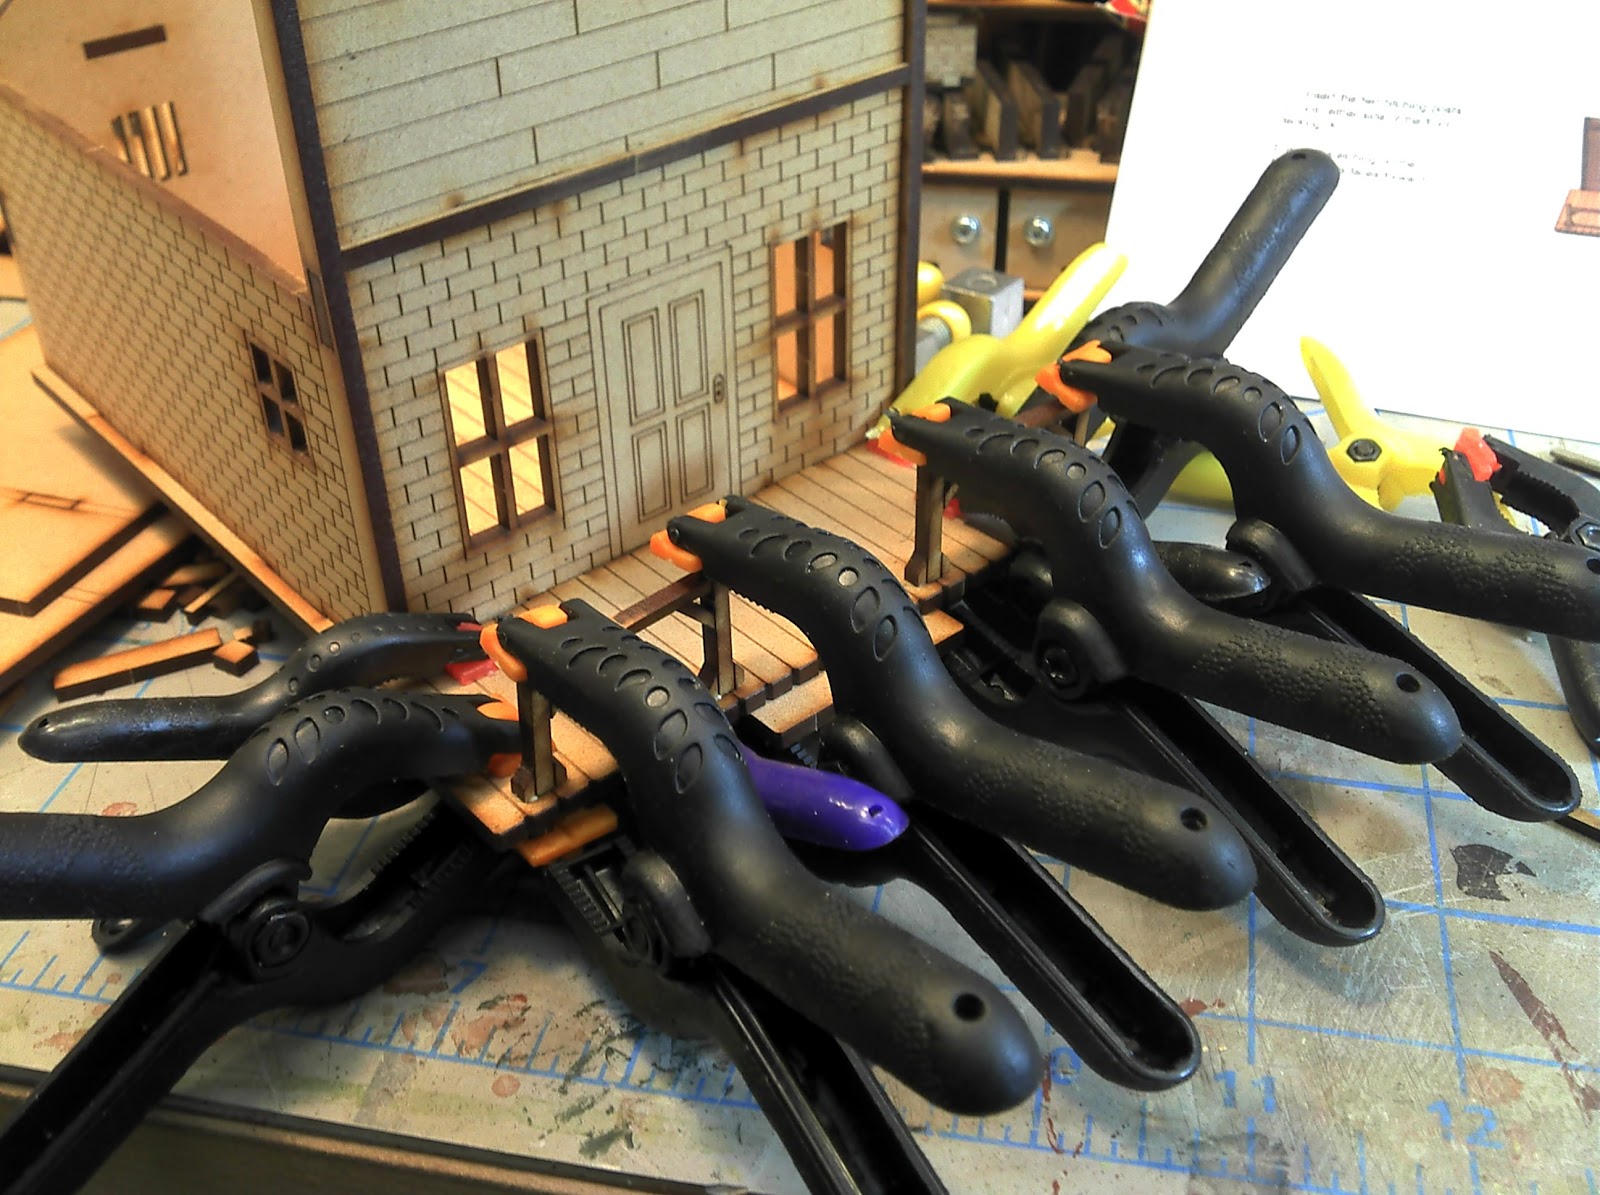
Here I'm following the directions and attaching the boardwalk to the front. From an ease of build perspective I think I would leave the boardwalk off until I assemble the whole building. Putting the four walls together without the extension of the boardwalk is a lot easier.
A side wall and the rear wall get their window frames and door frame.

A page from the instructions showing the window/door page as well as laying out the foundation for the boardwalk. On the boardwalk be sure you dry fit the pieces and make sure have them facing the right way. Detail needs to be facing out on the boardwalk and there must be room for two steps on the back of the building which is also notched to accept the backwall. You will be unhappy if you get this wrong and MDF is extremely difficult to pry apart after you have applied glue. You definitely need to get this right the first time. Fortunately I managed to pull off that feat again!

Everything is just about ready for the main "box" assembly. The boardwalk foundation pieces are still clamped down. I remembered to remove the clamps before I tried dry fitting the building together.
So a couple steps beyond the dryfitting. Walls assembled and glued together (you can see some glue I missed cleaning up) and the interior floor supports around in the inside edges are in place. These supports require a little attention because they are notched to fit together at the ends. So again pay attention to how you are putting them in place.
The floating floor is in and being weighted down to dry. Apply your glue to the bottom of the floor where it will rest on the supports. The fit inside the building is so tight that any glue on the edges will get scraped off against the walls when you set the floor in place.
Time for the stairs and the hitching posts.

Popping the roof into place to show off the finished structure.


A few scale shots with my posse of cowboys from Black Scorpion. You can tell these are older because they are in pewter and not resin! Again the Black Scorpion minis are a bit tall on their bases. That cowboy is going to lose his hat when he tries to go inside for a drink.

And now on the growing streets of Calimity. The Saloon and the General Store side by side.

I have one more Battle Flag building to go and hopefully I will get to that tonight. After that one is complete I'll start adding a bit of additional detail that will hopefully hide the interlocking sides a bit more and fix the rear gable of the general store so that its not a blank space. After that I can move on to getting them painted and weathered. Definitely pulling the airbrush out for these monsters!