Latest Updates
Showing posts with label Sarissa Precision. Show all posts

Wagons for Calamity - Part 6 Round Up

And this brings an end to my wagon series, at least for now. So here are a few pictures of the wagons all together along with a few calamity citizens to provide a bit of scale.

Edit: I did a little research this evening. The Sarissa Gypsy Box Wagon is more properly known as a Bow Top and uses canvas for the roof (not that to say that there weren't some that used planks). Sarissa's Gypsy Ledge Wagon is more properly known as a Reading. A ledge wagon would go up and then widen out over the wheels with ledges rather than just go straight up like Sarissa's. Not that any of that makes a difference to our little pewter people or to your average gamer.


The full lineup. From left to right: Hearse, Gypsy Ledge Wagon, Gypsy Box Wagon, Stage Coach and Plank (Freight) Wagon


Dave "Mac" next to the freight wagon (Reaper Miniature).


Gunfighter next to the stage coach (Reaper Miniature)


Gunslinger next to the Gypsy Box Wagon (Black Scorpion)


Gunslinger next to the Gypsy Ledge Wagon (Black Scorpion)


Wichita Witch next to the Hearse (Reaper Miniature)

Wagons for Calamity - Part 5 Sarissa Precision Gypsy Ledge wagon

This is the last wagon I have from Sarissa Precision. This is the Gypsy Ledge wagon, which is quite a bit boxier than the Box wagon. This would also make a good sheep drover's wagon for that large herd of sheep I know you are thinking about now. I took some of the lessons learned from the box wagon and applied them here and things went faster and smoother this time around. This kit isn't quite as difficult as the box wagon but it does have a couple of challenges.

Let's get into the pictures and see how it went.


One page instructions with print to small for me to read (old news I know).

MDF parts, same nice layout as the Box wagon

Cardboard parts

Basic frame, with tool box glued in place at the back

Side frames added

The steering axle, this is the same assembly used in the Gypsy Box Wagon

Adding the trails, this time before gluing the steering axle to the under carriage. So much easier to do.

All together and ready to add.

At this stage I decided to glue the wheels to the axles. This made it easier to get the wheels straight, no toe in or toe out.

Rear axle assembly

The stairs

The main cabin assembly

Gluing it to the basic box

Adding the cardboard roof. There is a slight curve to the roof so, like the box wagon, its important to gently bend the cardboard before gluing it in place. So much easier to get the rubber bands in place without the axle assemblies in place.

Adding the sides for the clerestory.

Adding the cardboard top to the clerestory. You need to make sure that the overlap on either side is even. 

Gluing on the two axle assemblies

I thought I was finished then I realized that I had some extra parts that aren't noted in the instructions. These are the shutters for the windows. I found it easier to wrap the rubber bands completely around the body of the cabin to hold the shutters in place. Its important to clamp them in place or they may warp.

While not as complex as the box wagon, the roof is different enough to make you think a minute. The cardboard for the upper roof doesn't seem to be long enough and I had gaps at both ends where it should meet the curved roof. Again I would have preferred thinner wood rather than cardboard for both sections of the wood. With a little experience you should be able to get this one together in about 30 minutes or so.

Wagons for Calamity - Part 4 Sarissa Precission Gypsy Box Wagon

There are two different gypsy wagons and for some reason I bought two of each one. I'm not sure what I'm going to do with four of them but I'll figure that out later. The Box wagon is a very visually interesting wagon and will look good on the table. It could also be used as a drover's wagon (sheepherder) although those usually had a canvas roof. If you get your hands on a bunch of sheep then I would use this wagon. This kit consists of both mdf and cardboard parts and is more complex than the freight wagon, stage coach and hearse.

Let's go through the pictures of the build and I'll point out the areas where I had issues and some tips on dealing with them.


One page instructions. Please, I need bigger type face!

The mdf parts. I really like how these are laid out. Everything arranged in sub-assemblies. Makes finding parts so much easier.

The cardboard parts. These are for the roof and the steps.

You start off with the basic box. I included the picture of the tool box to show where it goes. The exploded diagram on the instructions doesn't really make its exact location clear. Once you see where it goes how it goes together makes more sense.

This is the front steering sub assembly. I have already put together part of it. As you can see they manage to make the steering work. Be sure not to get any glue on the edges of the smaller disc in the center. The axle piece pivots around this and glue would freeze it in place. (Well, unless you don't want it to steer which is actually pretty likely).

Here is the steering axle assembly all put together

Another view of the steering axle

Here the steering axle assembly has been glued to the under carriage per the instructions. I found that this made gluing the roof into place quite difficult. I would leave both axle assemblies off until the main cabin is finished. It just makes everything easier to put together.
Now what is going on in this photo is putting the trails on with a centerpiece to keep them in place. I found it much easier to glue the centerpiece in place on one side and then shimmy everything into place. Again this would also have been easier if I hadn't glued the steering axle assembly into place.

And here everything is together in the front

Building the stairs. This was pretty straight forward and should be left as a separate piece unless you are going to setup a permanent gypsy camp.

The cardboard roof. Here I have glued (off to the left there) the ends into the wagon itself. The cardboard is almost to thick for this bend and I would have preferred they had used thin scribed wood (like the wrapper for the watertank from Banta Modelworks). At each score mark carefully bend the top until you get the rough shape. Be careful here its easy to over bend things (like I did).

The roof roughly bent into shape. You then apply glue to the round portions of the wagon ends and wrap this around. There are four lugs and four matching holes in the cardboard to help with this. bending the cardboard before hand is critical or it will feel like there is not enough cardboard to wrap all the way around. Its fairly tricky. Its not helped by the fact that you have to try and get the chimney glued in place on the inside at the same time. So be patient and dry fit it a couple of times before you apply glue. Have rubber bands ready to fix it into place. It would have been easier to use the rubber bands if the axles hadn't been glued into place already. That's the reason I would glue the axles and wheels into place last. The other issue you will run into is that the curve is so pronounced where the wagon sides meet the roof that you will likely have to hold the bottom "board" in place till the glue dries. Of course I was so involved with getting everything to fit right that I forgot to take pictures. Not that I had a hand available for that anyway.

Okay, that looks pretty good, the chimney is a little crooked.

And from the front. Here you can see where I "over bent" the cardboard and it formed a little kink right at the peak of the roof.

This is a much more complex kit. The layout of the pieces makes things much easier to deal with though. As noted in the picture captions I had a lot of trouble with the roof. Hopefully the second one will be much easier. This kit took about an hour to get together, including picture time. I figure I could put together the next one in 30-45 minutes depending on how much trouble the roof gave me.

Wagons for Calamity - Part 3 Sarissa Precision Hearse

Moving on to part 3 brings us to the Sarissa Precision Hearse. Now this is a model I'm not sure I'm going to actually use. An undertaker that can afford to use a hearse means the town is quite affluent (not necessarily that the undertaker is busy) and I'm not sure that Calamity is an affluent place. An interesting side note is that undertakers with hearse's often had two full teams of horses, one black and one white. Black for funerals and white for any other function that he could get paid for! The hearse, like the stage coach, looks far more complicated than it really is. This is the kit I managed to make a mistake on though. This was partially due to an unlabeled piece on the instructions and the small type face.  While structurally it wasn't vital visually it is and getting the missing piece into place, without taking everything apart, was a challenge.

Here are the shots of the Hearse build.


The instructions are only one sided for the Hearse

The parts sheet. Nothing is missing the gaps are the pieces that fell out. There are no cardboard parts in this kit

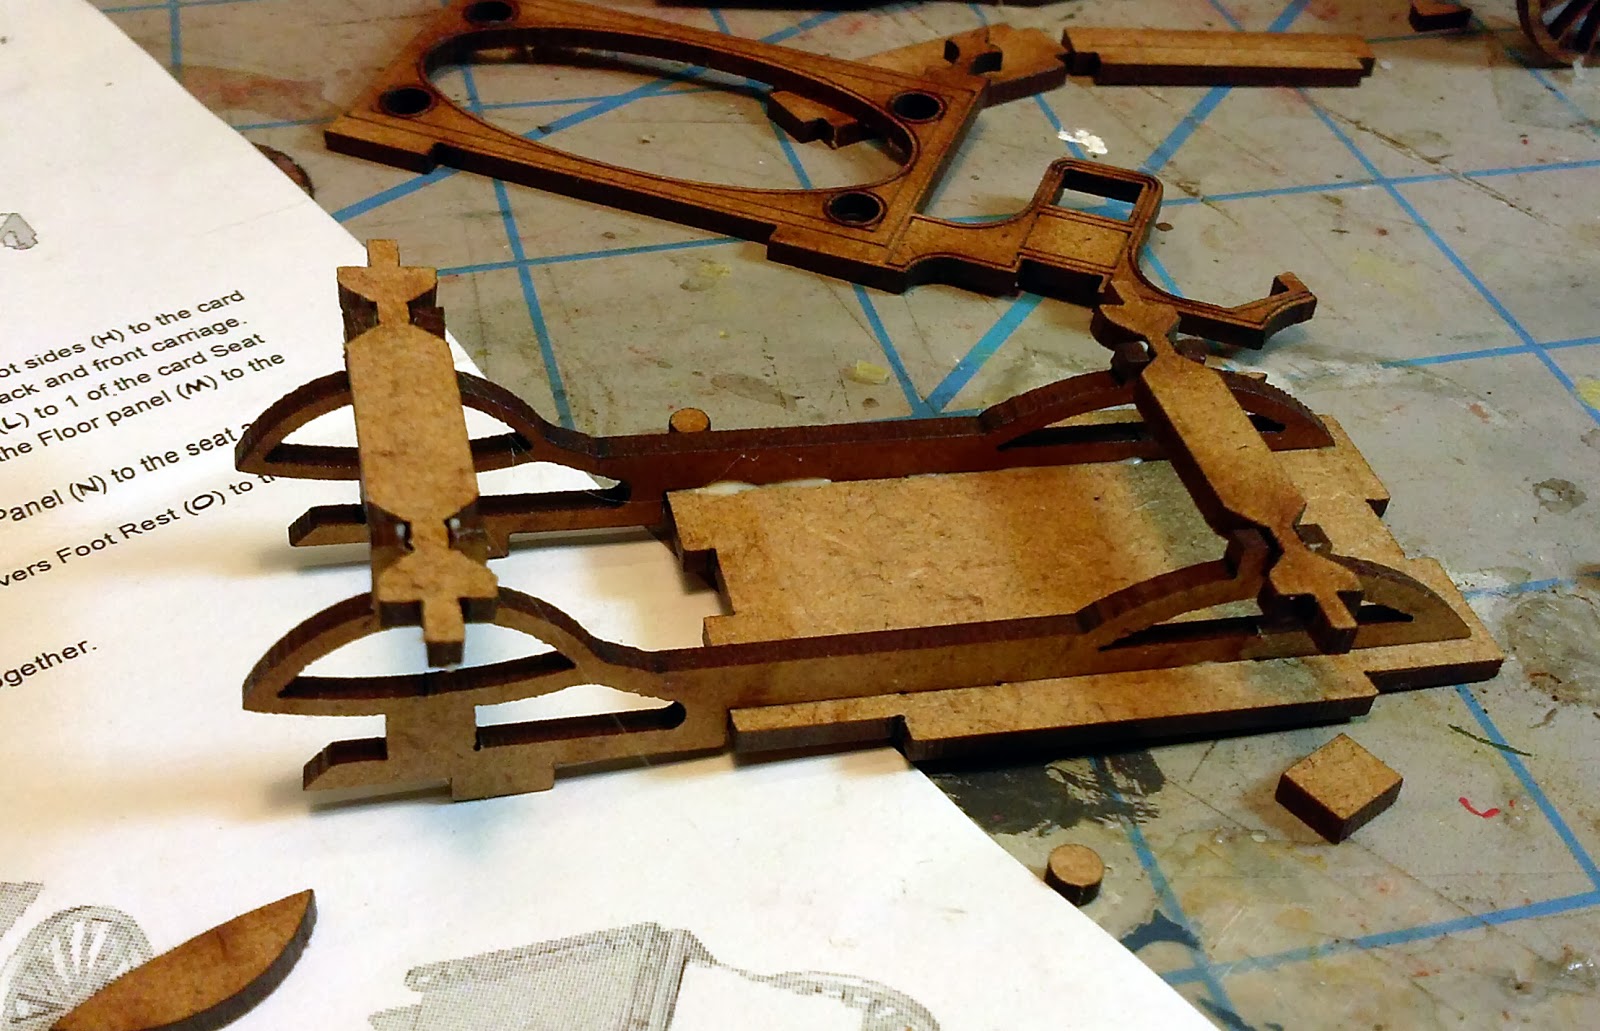
Floor and under carriage going together

Adding the axles

Adding the sides and ends for the cabin. This locks the drivers seat into place.

Adding the top, looking good so far.

Adding the wheels, definitely looks good! Yet it feels incomplete.

Mmm, this looks like an important piece. Yes, its the floorboards for the driver's seat and with everything in place I can't just slide it in. I figured out that if I cut off the lugs on either side I could slide it into place, save those little pieces though! Without them you will have a couple of blank spots on the sides that won't look right. I filed the lugs down a bit and slide them into position from the outside. Problem solved!

Here you can see the floorboards in place and the gaps (right under the driver's seat) filled with the lugs that I had cut off. Nothing like a little emergency surgery.

Just put the coffin inside (it will slide right in through the openings on the side) and you are off to boot hill.
This looks like a complex kit but really you can build it in 20 minutes or less. My problem was easily fixed once I thought about it for a minute and quite frankly would likely have gone unnoticed by your average player just out to have a good time if I had left it off. The coffin is a bit fiddly though and took more effort to line up straight than anything else.