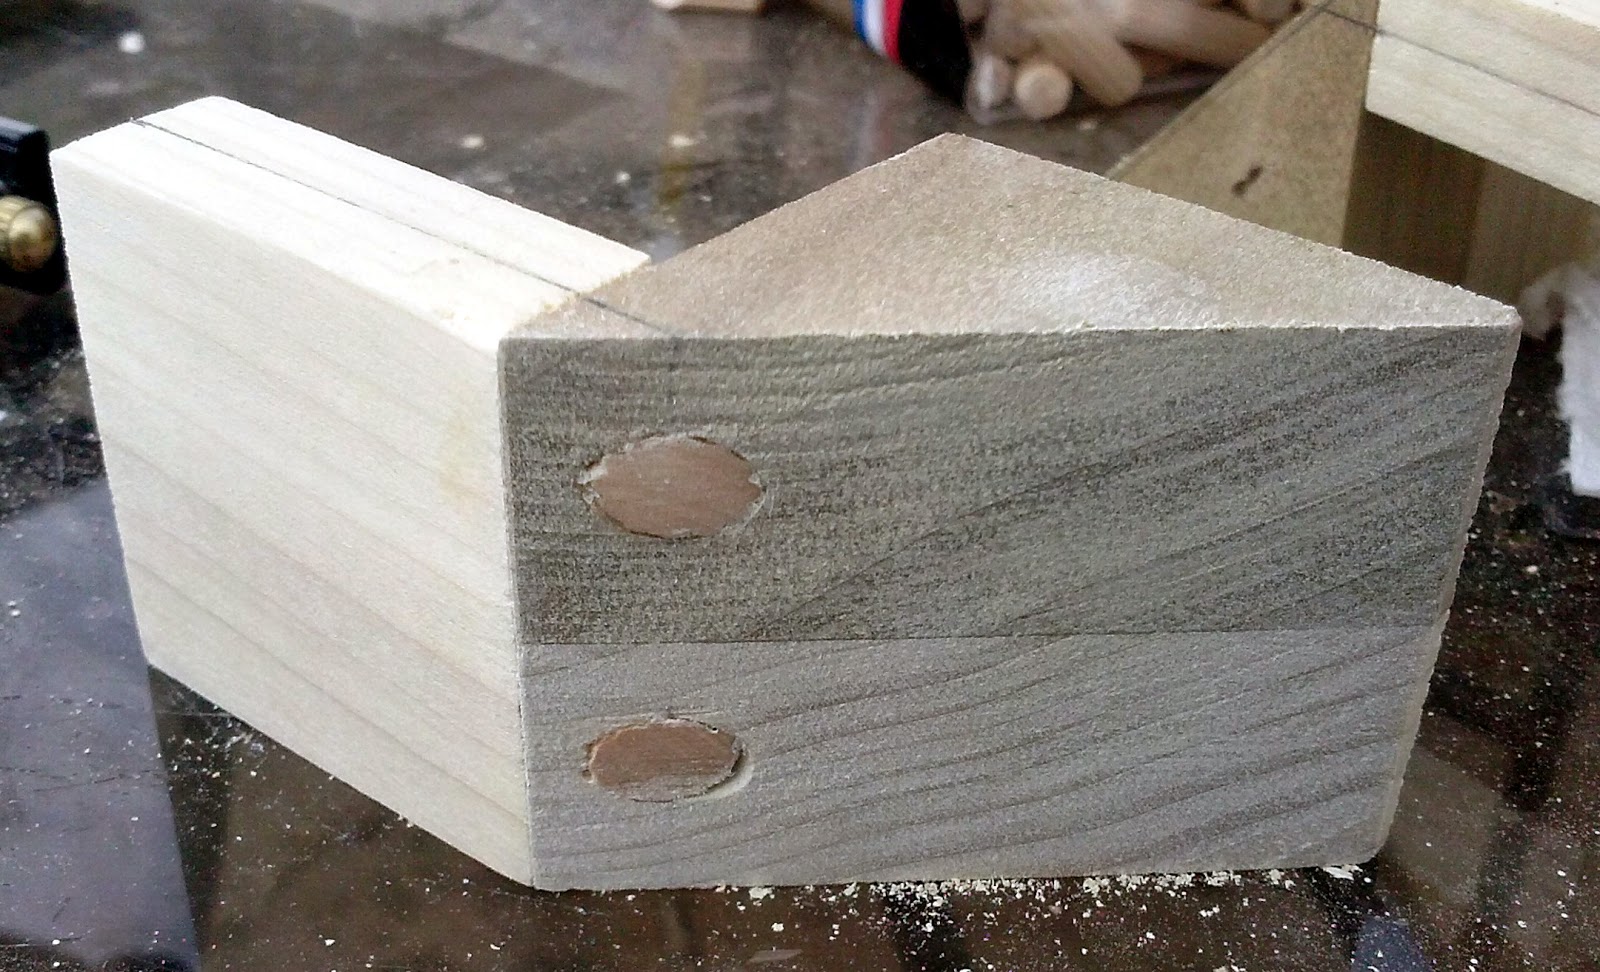
A jig was required. It turned out to be pretty simple, just a little box the right size, a back piece and a 45 degree block and I was set. I need to calibrate the miter saw properly though its still cutting a slight angle when I should be getting a vertical cut. Rather than do that I went brute force and glued the box together and then pegged it as well. Not the prettiest work but it gets the job done and that's all I need it to do.
After I drilled and pegged everything I spent some time sanding everything down in preparation for a little finish work. I hit everything again with the 80 grit sandpaper, then followed that up with the 120 grit and finally a shot with the 220 grit. Poplar is a relatively soft hardwood so this only took about an hour to work through. Since my intention is to match woods with the miniature I went with a natural finish rather than a colored stain. I'm quite please with the final result. I still need to figure out what wood to use for the backdrops but I'm closing in actually finishing these and showing them off a bit. I'll definitely be using a couple of the better looking ones for my Genghis Con entries.
Here is the photo story for today.
 |
| Successfully drilled out the first display stand. A good combination square and a mechanical pencil are required tools. |
 |
| This is a 1/2" fluted "pin" I have applied my favorite wood glue Titebond |
 |
| See how much glue is forced out, hence why the peg is fluted to give it someplace to go. Use a wet cloth or paper towel to wipe up the excess glue. |
 |
| The second peg is in. This should now hold up to just about any abuse you care to dish out at this point. |
 |
| Ready to cut the pegs |
 |
| Quick work with a hand held miter saw |
 |
| Followed by more sanding to get them flush |
 |
| Pegs cut and sanded |
 |
| Constructed the jig. I couldn't find any rubber bands so I grabbed some hair bands instead. |
 |
| What goes inside, one of the back pieces and one 45 degree cut block. |
.
 |
| Works like a charm. Note at this point I hadn't cut the excess pegs from the jig yet. |
 |
| And everything put together in the right way. |


