Lessons Learned!
This is the first building I have built entirely from styrene plastic (well outside of an actual kit). Everything else I have scratchbuilt has been from combinations of materials; wood, cardboard, matt board and styrene.
The construction itself was pretty straight forward so most of my lessons revolved around painting it.
1) Measure twice, cut once (classic rule). The only mistake I really made along this line was on the roof and not making it overhang the eaves enough. I was able to work in another course of shingles that hide the edge, but it could have been avoided by simply double checking before I cut the plastic.
2) Think everything through before you start. I made some notes on construction before I started but I left some things kind of hanging and those came back to haunt me a bit. Most of this revolved around the addition. I initially planned to assemble the walls with the long walls overlapping the shorter walls. Somehow I managed to reverse that when I actually assembled the building resulting in the floor not being the right dimensions and I had to re-cut it so it wasn't as wide and a little longer.
3) Weathering undercoat. Since the styrene is so smooth even with primer, my liquitex inks even with a bit of paint had a hard time taking hold. Next time I will lightly sand both sides of the styrene to add a bit of tooth to the plastic for the paint.
4) Peeling paint 1. While the peeling paint effect worked quite well in some places, notably the lighter colored trim, it was almost invisible on the red siding. Pay attention to your colors so you can maximize the effect. Also, because of the lack of tooth on the plastic, in many spots when I peeled paint I went right down to the plastic. Next time I will do the undercoat and then give it a coat of dullcoat before applying the chipping fluid.
5) Peeling paint 2. I used my tried and true rubber cement, which did not work well on this model. Next time I'll either use hairspray (applied by brush) or the chipping fluids I have from AK Interactive.
6) Paint everything inside first! I know this in the back of my head and then ignored it in the excitement of the build. Its easier to paint everything inside when it is laying flat on the table rather then when its completely assembled. While I did remember this for the inside, I discovered that when I wanted to change the color I couldn't really get a brush in where I needed it after I had assembled the walls. Also the doors and windows would have been much easier to weather and paint if they weren't glued in place. I guess these are lessons re-learned.
7) Paint splatter! I don't know why I didn't think about it but I should have taped over all the window openings when I was painting the building. I had paint splatter all over the inside of the building, mostly on the light textured wallpaper. I was able to match the paint and cover most of it and it doesn't look to bad. This especially true if you are going to be using and airbrush to apply the exterior paint which is what I usually do (also apply exterior paint before putting the windows and doors in).
8) Remember to remove paint from the places where things need to be glued together. I actually remember this but its a good thing to point out when working with styrene. I prefer to use Plastruct Plastic Weld (the good toxic stuff) which can really attack paint, so think ahead a bit.
In the end I'm pretty happy with the building. While it may not be the true "Hero" building that I had in mind it looks good and reminded me of what I needed to do when working on one of these. Right now I'm looking at doing three more buildings; a corner saloon/hotel, the railroad station and the bakery (I only refer to this as a bakery because the original building is currently a bakery and prior posts refer to it that way). I may do a couple of others, but these take a lot of time so I still intend to use my MDF laser cut buildings to fill in the rest (and the bulk) of Calamity
On to the pictures!
 |
| The Newspaper Office with a brand new citizen out front. The red is a little dull in this shot. |
 |
| This is much closer to what the red looks like in the "flesh" |
 |
| And yes, I didn't paint the back of the false front, that is deliberate. |
 |
| The emergency exit, or perhaps a good spot for an ambush. |
 |
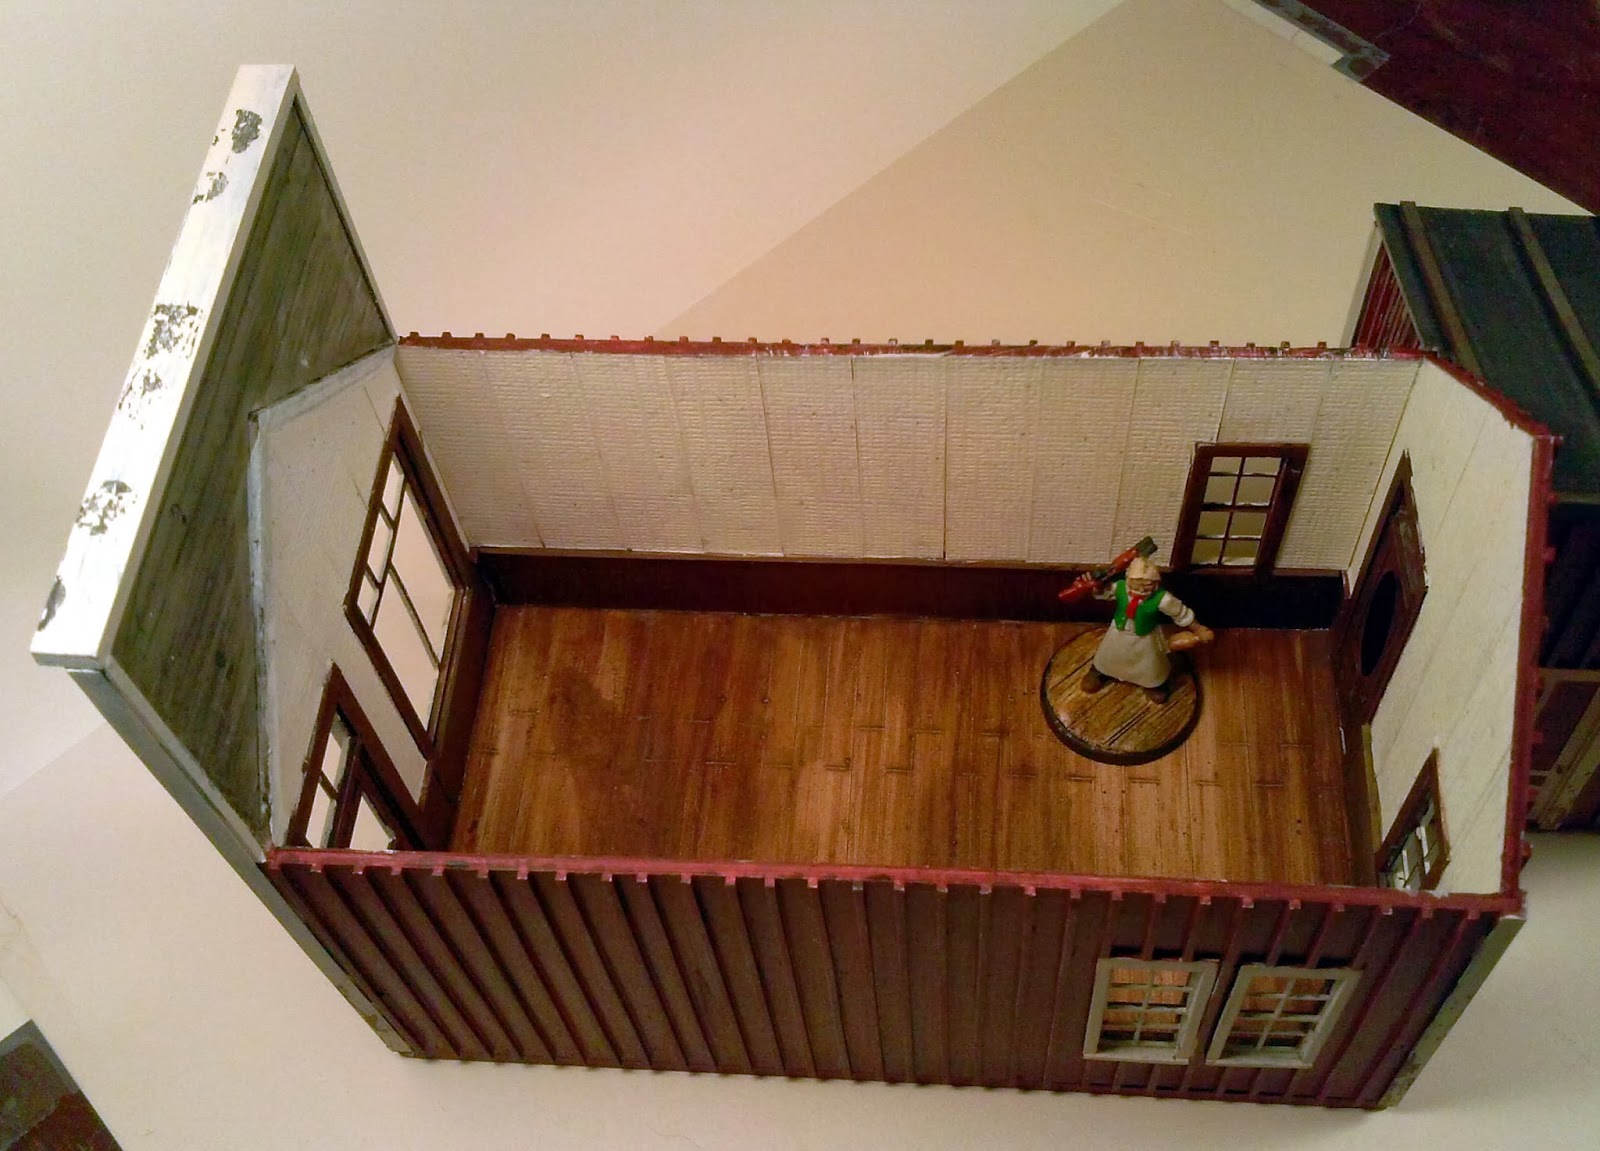
| The interior, I like the color variation in the floor. I have no idea of I'll be able to pull that off again. Remember to paint with the grain and pull your brush all the way across in one stroke. |
 |
| The addition. Its not really that bright, its small so its really reflecting the light from the lamps. |
 |
| The roofs |
 |
| A foot print shot |


