Oh and (like many of my posts) this one is rather picture heavy.
A couple of things that didn't make it into the pictures. I didn't take pictures right out of the box, the models are a bit plastic looking right out of the box, so they all received a quick coat of testor's dullcoat to take away the shine and give the pastels a little tooth to hold on to. I also removed the trucks and popped the wheels out to make things a little easier to deal with.
 |
| Here is stuff I'm using; Pan Pastels (I actually only used about six of these), Liquitex Inks (ended up only using the Burnt Umber) and Prismacolor Pencils (again only used two of these). You can see disassembled trucks in the picture as well. |
 |
| Here are the victims plus my cheap weathering brushes. What is missing from this picture are the sponges that I used to apply the Pan Pastels. The sponges work much better than a brush. |
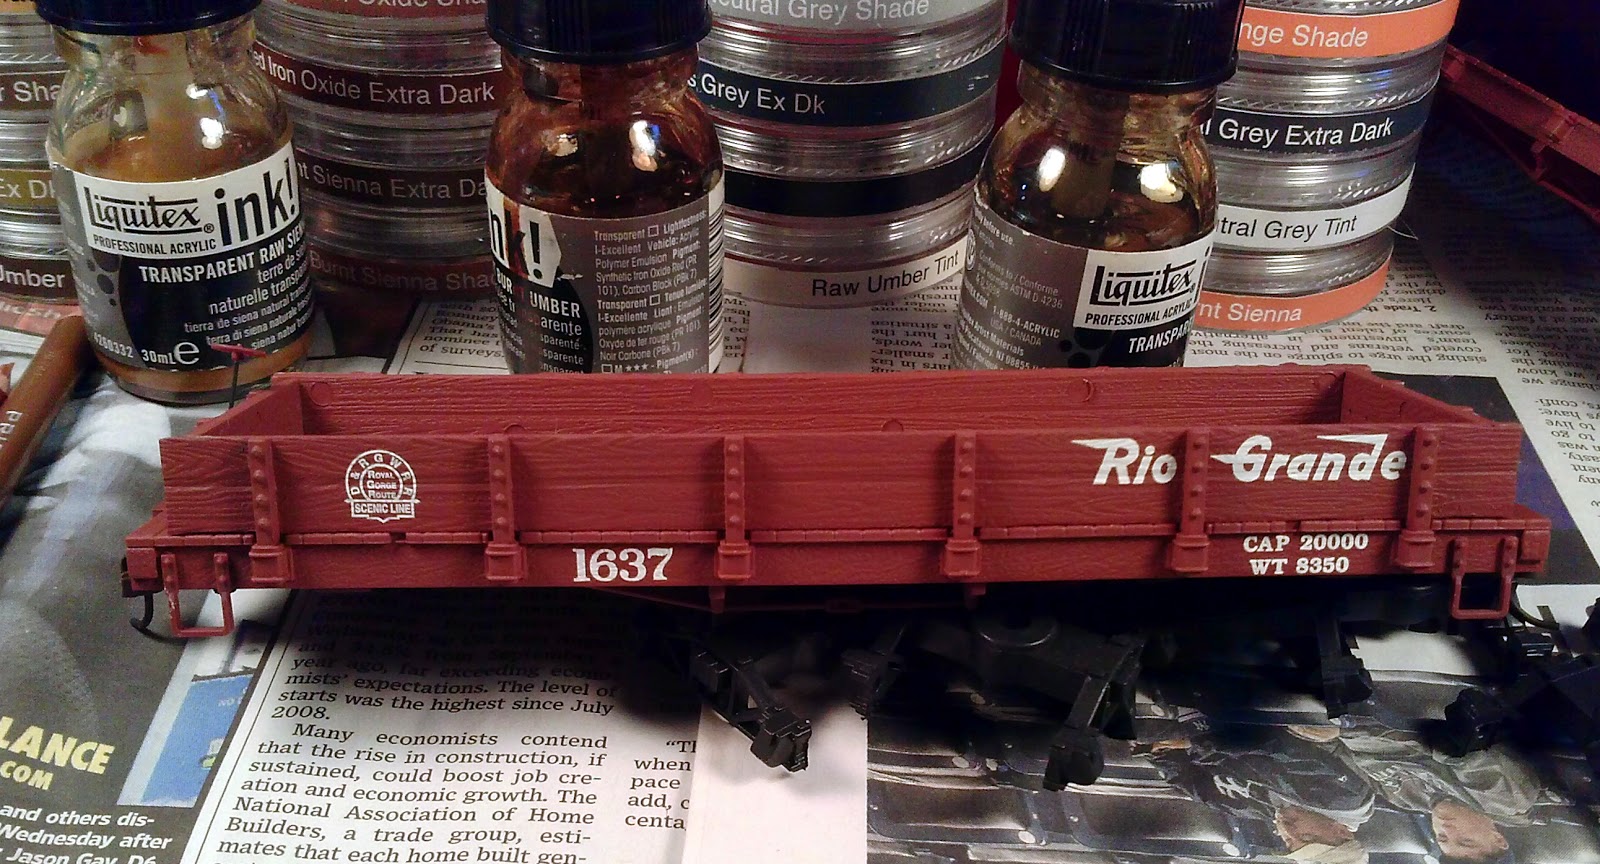 |
| The gondola (all of the freight cars have had a coat of dullcoat at this point) |
 |
| The tank car |
 |
| One of the stock cars with their underframes in the foreground |
 |
| Step 1, knock down the very black trucks with the pastels. On the left side is the straight plastic on the right is after a quick brush of Pan Pastel Neutral Gray Extra Dark. This looked good so I went ahead and did all the remaining trucks. |
 |
| Here I have applied rust with a Prismacolor Pencil, Sienna Brown. this was went really fast, I just used the edge of the pencil on the edges of the metal. Looked pretty good and was fast. Its hard to really see the trucks once they are mounted back on the cars, but I hate to do anything in half measures. |
 |
| Didn't forget the wheels either, each set received a coating of either Pan Pastel; Red Iron Oxide Shade or Red Iron Oxide |
 |
| A truck with the weathering finished and re-assembled |
 |
| The gondola gets a quick brush of straight Liquitex Burnt Umber Ink |
 |
| This ink will re-activate with water so in a couple places where the decals were to dark I just went back in with a wet paintbrush and removed the excess ink. |

 |
| The flatbed of the tank car gets the same coating of burnt umber |
 |
| Okay, I forgot to take pictures of the gondola in progress but I remember to do it with the tank car. First I dulled the black again with another coating of Neutral Grey Extra Dark and streaked it down the sides. I worked in a little rust as well using both the Red Iron Oxide Shade and Prismacolor Burnt Ochre |
 |
| The other side |
 |
| The photos got a little skimpy but here are the underframes for the stock cars. On the left I have applied both Pan Pastel Burnt Umber and Yellow Ochre shade to grime up the bottom. On the right is the other underframe waiting for its turn. |
 |
| The finished D&RGW Gondola |


 |
| The finished Tank Car, it will get decals someday |

 |
| One of the stock cars. Quite frankly I find them hard to tell apart at this point. I definitely need to go in and change that number. Maybe I'll just get some paint and change the 3 to and 8. |


And that wraps up a weathering session for Calamity's RR.


